Customizing Sculpin: Highlight image and Facebook
Over the past months I've been slowly customizing my Sculpin installation for this blog to fit my own liking a bit more. I've added a bit more styling including a beautiful background image and a transparent white background for the content column. Today I wanted to add a bit more. Two things specifically:
- I wanted to control a bit more about how my blogposts are displayed when they are shared on Facebook
- I wanted to have an optional image at the top of blogposts to make them look a bit better
It turns out this was actually quite easy, so here's a short description of what I did to make it work.
A quick search gave me the exact Facebook documentation I needed for setting up basic markup to make my site look better when shared on facebook. It basically means adding a couple of tags to the header of my HTML. Now that is easy! So in my source/_views/post.html I've added some lines to the head_meta block, which is the block in the layout that contains meta-data. I found this quite fitting.
    <meta property="og:url" content="{{ site.url }}{{ page.url }}" />
    <meta property="og:type" content="article" />
    <meta property="og:title" content="{{ page.title }}" />
    {% if page.social.summary %}
    <meta property="og:description" content="{{ page.social.summary }}" />
    {% else %}
    <meta property="og:description" content="{{ page.blocks.content|striptags|slice(0, 255) }}..." />
    {% endif %}
    {% if page.social.highlight_image %}
    <meta property="og:image" content="{{ site.url }}{{ page.social.highlight_image }}" />
    {% endif %}
Most of this seems pretty basic: I set the URL of the current article, I set the title to the title of the current article, the type is article (according to the Facebook documentation if you leave this out the default is website, which seems like an incorrect description of a blogpost). The description and highlight image meant I had to extend the standard blogpost format for the markdown file a bit more, I'll get back to that in a minute. But as you can see, I only add an image if I've set a highlight image, and I add a basic description unless a custom summary has been set in the blogpost.
Extending the Sculpin frontmatter
While I could just use a basic summary based on the blogpost and leave out the image, I wanted to have the flexibility to customize this a bit more. Luckily Sculpin allows you to extend the markdown frontmatter with your own custom tags. Basically, any tag (or hierarchy of tags) you add to the frontmatter in your blogpost markdown file automatically ends up in your data structure in the template. So now I can simple add some stuff to my blogpost, and I can use it in my template:
social:
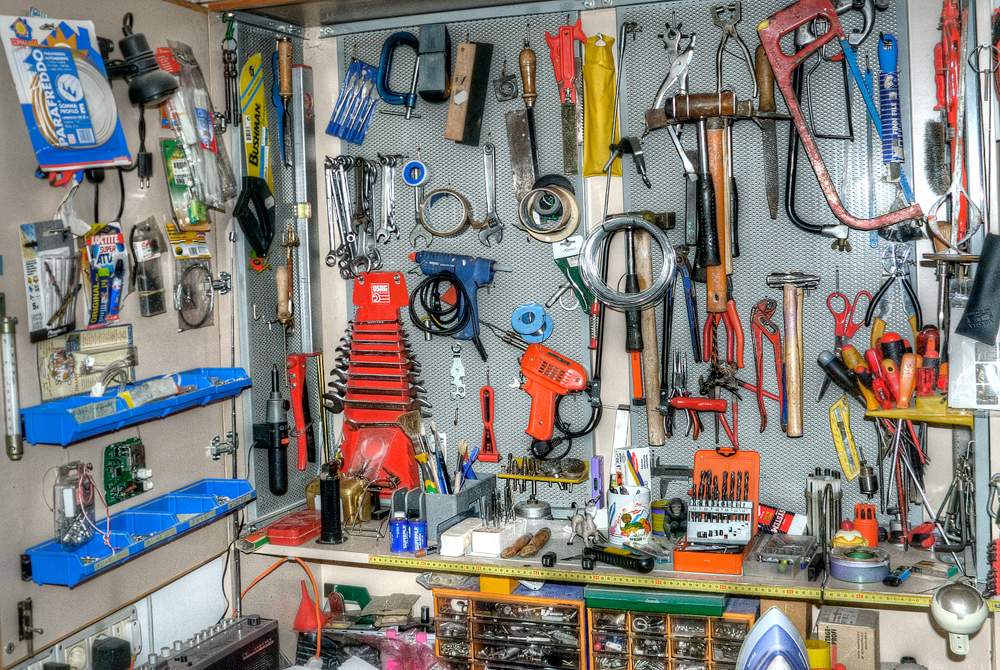
highlight_image: /_posts/images/powertools.jpg
highlight_image_credits:
name: Dorli Photography
url: https://www.flickr.com/photos/dorlino/4946061042/
summary: I've customized my Sculpin a bit more to fit what I want with the blog.
As you can see, if I use a deeper hierarchy, I can access that by concatenating with dots, for instance the page.social.highlight_image I use in the template comes from the above information.
Highlight image
Since I have a highlight image for Facebook anyway, I could actually use it to make my site look a bit nicer as well. So let's add the (optional) highlight image to the top of the blogpost as well. Since my (default, I think?) Sculpin template is split up into two templates, this required change in two places:
- source/_layouts/default.html
- source/_views/post.html
The first change is in the default layout: I need to add a block on top of the row that contains the blogpost to allow me to add custom HTML in my post template. This is a pretty simple task:
{% block topbanner %}{% endblock %}
The block will not contain anything by default, only if it gets overwritten by subtemplates. In our case, the template for the blogpost.
{% block topbanner %}
{% if page.social.highlight_image %}
<div class="row-fluid">
    <div class="span12">
        <img src="{{ site.url }}{{ page.social.highlight_image }}" style="width:100%" />
    </div>
</div>
{% endif %}
{% endblock %}
In the source/_views/post.html I overwrite the block and add some content, but only if I've actually set a highlight_image for the blogpost. This ensures I can also blog without a highlight image, but also keeps backwards compatibility for the years and years of old blogposts that do not have a highlight image.
If the image is set, I simply add a new row-fluid with the image in it. Thanks to @jaspernbrouwer for helping me with the HTML here, I initially placed the HTML in the wrong place in the layout file. This will now add the highlight image at the top if it is present.
Credits where credits are due
Of course, if I use images of other people, I want to credit them. So I've added a bit of code to the sidebar as well to do exactly that:
{% if page.social.highlight_image and page.social.highlight_image_credits %}
    Image by
        {% if page.social.highlight_image_credits.url %}
        <a href="{{ page.social.highlight_image_credits.url }}">
        {% endif %}
            {{ page.social.highlight_image_credits.name }}
        {% if page.social.highlight_image_credits.url %}
        </a>
        {% endif %}
    {% endif %}
I think this could is pretty self-explanatory: If there is an image and the credits are also set, add the credits to the sidebar. If I've also set a URL for the credits, make the name a link.
The result is what you're looking at right now.